Hardware Components
An FRC robot has several electrical devices that work together. Some provide power, some communicate, and some control moving parts.
You do not need to memorize every port yet. Start by learning what each main component does.
The Big Picture

The basic flow is:
Battery → Main Breaker → Power Distribution → Robot Components
                                ↓
Driver Station ↔ Radio ↔ Network Switch ↔ roboRIO
                                      ↕
                    Motor Controllers, Gyros, and Limelight
The laptop sends instructions to the robot over Wi-Fi. The roboRIO runs our code and tells the other devices what to do.
Robot Battery
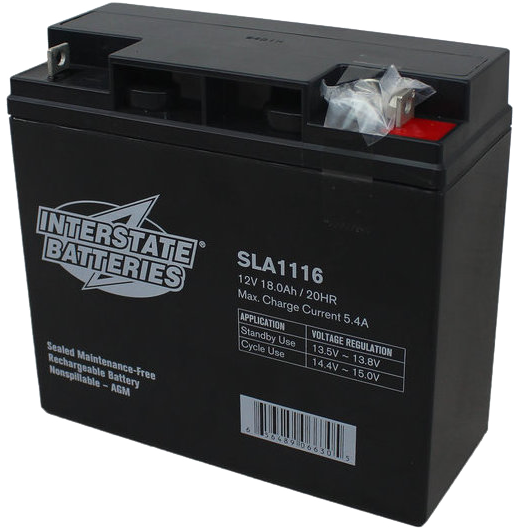
The battery supplies electrical power to the entire robot. FRC robots use a 12-volt sealed lead-acid battery.
The battery is heavy and can supply a lot of current. Always carry it with two hands and keep metal objects away from its terminals.
Learn more about the robot battery in WPILib
Main Circuit Breaker

The main breaker is the robot's large red power switch. It also protects the robot if too much current flows through the main wiring.
- Press it down to turn the robot on.
- Press the red button to turn the robot off.
Learn more about the main breaker in WPILib
Power Distribution Hub
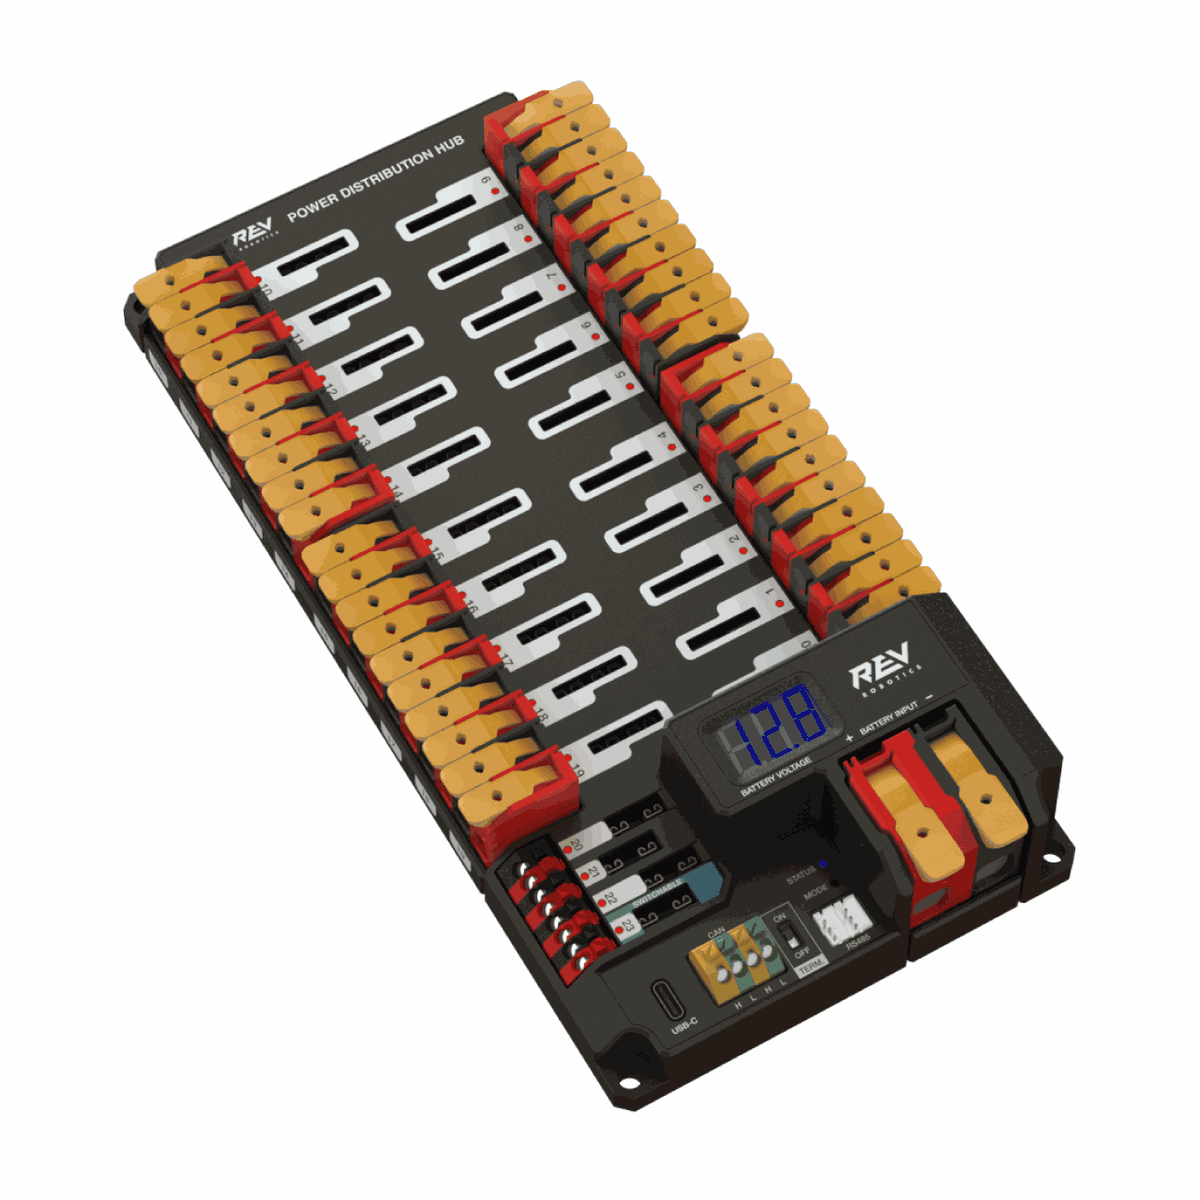
The Power Distribution Hub, or PDH, takes power from the battery and shares it with the rest of the robot. It is similar to a power bar, but it is made for the much higher current used by motors.
Small circuit breakers plug into the PDH. They protect each individual circuit.
Learn more about the PDH in WPILib
roboRIO
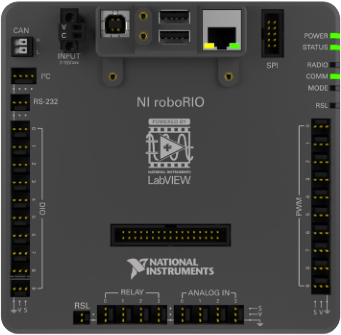
The roboRIO is the robot's brain. It runs the Java code we create in VS Code and sends commands to devices such as motor controllers.
It also reads sensors, including encoders, limit switches, and gyroscopes. We upload, or deploy, our robot program to the roboRIO.
We may use the new SystemCore control system instead of the roboRIO for the 2027 season. Mentors will explain any changes once our team's hardware is confirmed.
Learn more about the roboRIO in WPILib
Radio

The radio connects the robot to the Driver Station laptop. It allows the drivers to control the robot wirelessly and lets programmers deploy code and view robot information.
If the radio loses its connection, the robot stops for safety.
Learn more about the radio in WPILib
Network Switch
A network switch adds more Ethernet ports to the robot. It lets the roboRIO, radio, Limelight, and other network devices communicate with each other.
Think of it like a power bar for Ethernet cables: one connection can be shared with several devices. Some newer FRC radios already have several Ethernet ports, so a separate switch may not always be needed.
Talon FX Motor Controller

A motor controller changes how much power a motor receives. Our code sends it a value that controls the motor's speed and direction.
For example:
1.0means full speed forward.0.0means stopped.-1.0means full speed backward.
The Talon FX is a CTRE motor controller built into motors such as the Falcon 500 and Kraken. It can also report information such as the motor's position, speed, temperature, and current use.
Learn more about the Talon FX in WPILib
Gyroscopes: navX and Pigeon
A gyroscope, or gyro, measures which direction the robot is facing and how quickly it is turning. Robot code uses this information to drive straight, turn to an angle, and keep track of the robot's position on the field.
Our robots may use either of these gyros:
- navX: made by Studica/Kauai Labs. It is commonly mounted in the roboRIO's MXP port.
- Pigeon: made by CTRE. It normally communicates with the robot through the CAN bus.
Both devices have a similar job, but they use different code libraries. A gyro should remain still for a moment when the robot starts so it can calibrate correctly.
Learn more about gyroscopes in WPILib
Limelight
A Limelight is a smart camera made for robots. It has its own small computer that processes images before sending useful information to the roboRIO.
We can use a Limelight to:
- Find AprilTags placed around the field.
- Estimate where the robot is on the field.
- Aim the robot at a target.
- Send a camera view to the drivers.
The Limelight normally connects to the robot's network using Ethernet.
Learn more in the official Limelight documentation
Pneumatic Hub
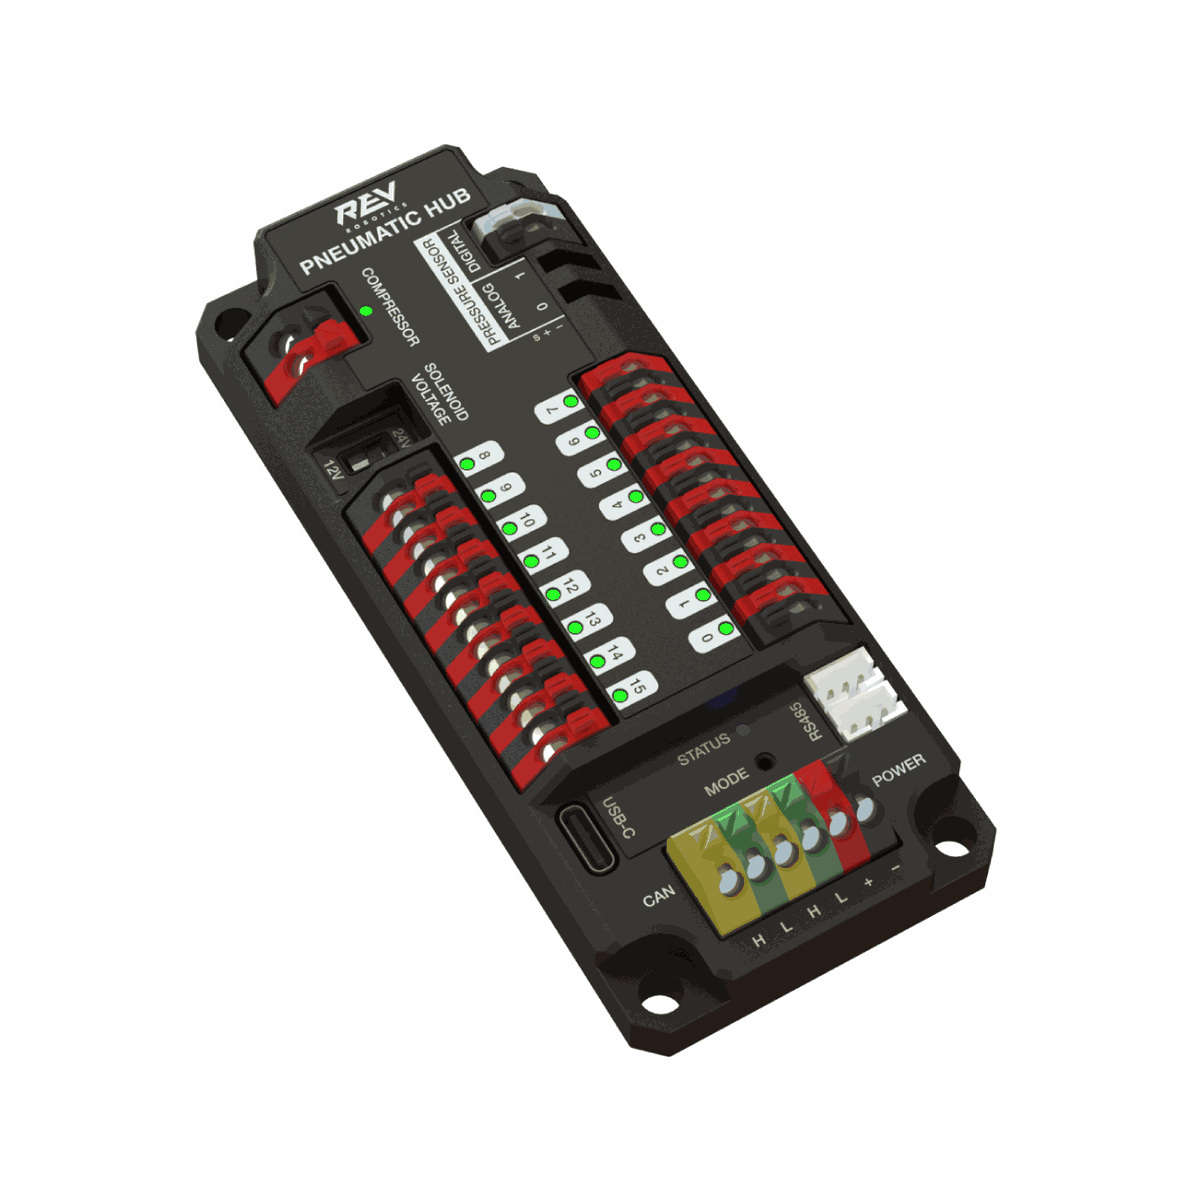
The Pneumatic Hub, or PH, controls parts that use compressed air. It can switch solenoid valves and monitor pressure sensors.
Not every robot uses pneumatics. If the robot has no air cylinders, it may not need this device.
Learn more about the Pneumatic Hub in WPILib
Robot Signal Light

The orange Robot Signal Light, or RSL, shows whether the robot is enabled.
- Solid light: the robot is disabled and should not move.
- Flashing light: the robot is enabled and can move.
Always treat an enabled robot as dangerous, even when it looks like nothing is moving.
Learn more about the RSL in WPILib
Driver Station Laptop
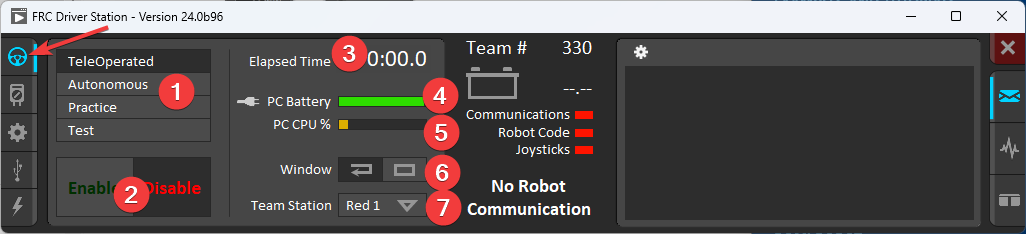
The Driver Station is the Windows laptop used to operate the robot. The laptop runs the FRC Driver Station program and connects to the robot through the radio.
It allows the drive team to:
- Enable and disable the robot.
- Choose autonomous, teleoperated, or test mode.
- Connect controllers and joysticks.
- Check the robot's battery and connection status.
- Read messages sent by the robot code.
The Driver Station is not part of the robot itself, but the robot cannot be enabled without it. During a match, the laptop connects to the field using an Ethernet cable.
Learn more about the FRC Driver Station in WPILib
How the Devices Communicate
Many robot devices communicate using two twisted wires called the CAN bus. CAN lets the roboRIO send instructions and receive information from several devices along one chain.
You may also see:
- Ethernet cables connecting the roboRIO and radio.
- USB cables used for setup or cameras.
- PWM cables carrying simple control signals.
- Power wires carrying energy from the PDH.
Do not unplug or rewire a robot unless an electrical team member or mentor has shown you how.
Quick Check
| Component | Main job |
|---|---|
| Battery | Supplies power |
| Main breaker | Turns the robot on or off and protects its main wiring |
| PDH | Shares power with the robot's devices |
| roboRIO | Runs the robot code |
| Radio | Connects the robot and Driver Station |
| Network switch | Adds Ethernet connections for network devices |
| Talon FX | Controls a motor and reports information about it |
| navX or Pigeon | Measures the robot's direction and turning |
| Limelight | Uses a camera to locate targets and the robot |
| Pneumatic Hub | Controls compressed-air devices |
| RSL | Shows whether the robot is enabled |
| Driver Station | Laptop used to operate and monitor the robot |
Reference and Image Credits
This page is a simplified introduction based on the WPILib Hardware Component Overview, WPILib Driver Station guide, and official Limelight documentation. WPILib images and credited contributions are used under the Creative Commons Attribution 4.0 license.